Overview
SOP provides managers with the capability to schedule upcoming job shifts, allowing for effective communication of job targets and start schedules with plant operators. Additionally, users can schedule trucks to establish time report starts and share schedule PDFs with brokers and drivers.
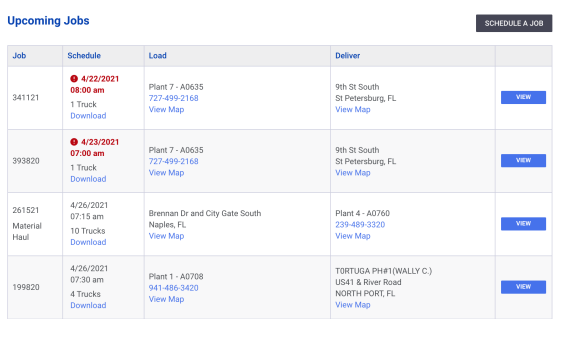
Scheduled jobs will be visible on the dashboard for managers and foremen, while plant users can view their scheduled jobs on the plant dashboard.
It is important to note that if a job is scheduled against an external producer, it will be marked as ‘PENDING’ and await schedule confirmation from the producer.
Schedule a Job
To create a new scheduled job, navigate to the dashboard and click on ‘Schedule a Job’ located at the top of the Upcoming Jobs list. Follow the steps outlined below to create a new scheduled job.
Job Details
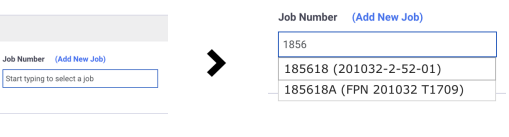
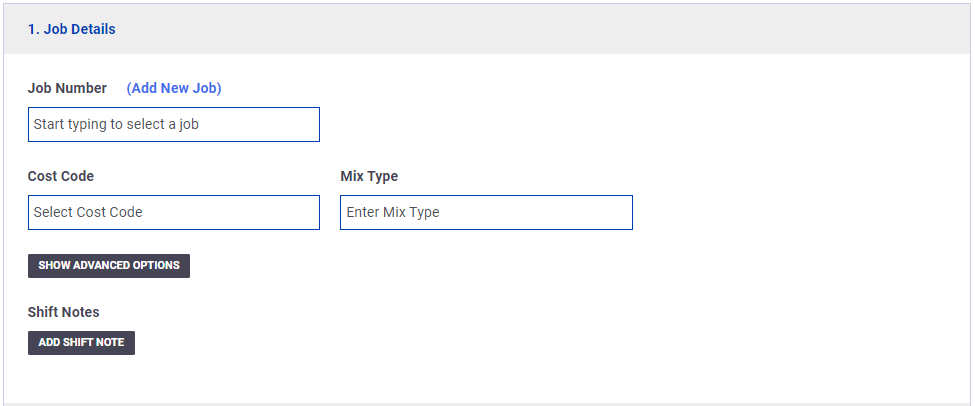
In the Job Details panel, select the Job Type and Job Number. Begin typing the job number in the Job Number field and select the desired job from the list to validate your selection.
More Details
Managers can select a Cost Code and enter a Mix Type to a Scheduled Job. These details will appear on the Scheduled Jobs list and the Schedule PDF. Please note that cost codes and mix types are not used for matching job shifts from the scale system. Additionally, a shift note can be added for reference in the Job Shift Summary view. Note: A Job Number is required when scheduling any job.
If paving in echelon or if multiple pavers are working on the same job, you can utilize the ‘Advanced Options’ by clicking on it to add a Destination. This feature can be used to match the paver or foreman field from the scale system. To enable the Destination feature, please contact [email protected] and confirm its availability for your SOP account.
Job Schedule
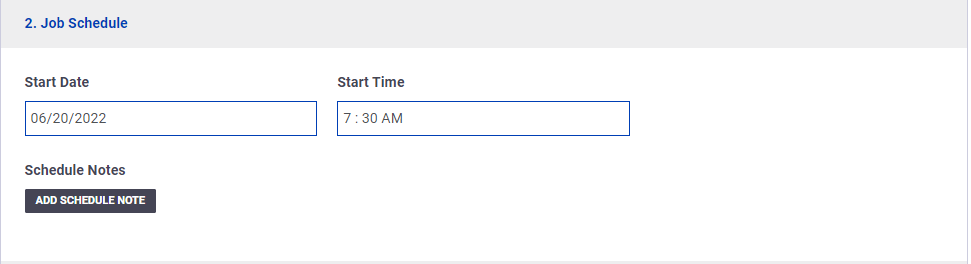
The Job Schedule panel allows managers to enter the start date and start time for the job. By default, the date and time will be set to the next day at 7:30 am. Jobs can be scheduled multiple days in advance.
Managers can set the target tons and target hours to establish progress and time goals for the day. These values will be used for the loaded and paved progress bars and report. The Tons Per Hour (TPH) will be automatically calculated and used to compare the current Unload TPH progress in real-time during the shift. The Target TPH will also be displayed on the TPH chart in the activity report, to review Load and Unload TPH performance throughout the day.
Additionally, managers can add a schedule note for the truck scheduler to view on the Truck Schedule page.
Load Location
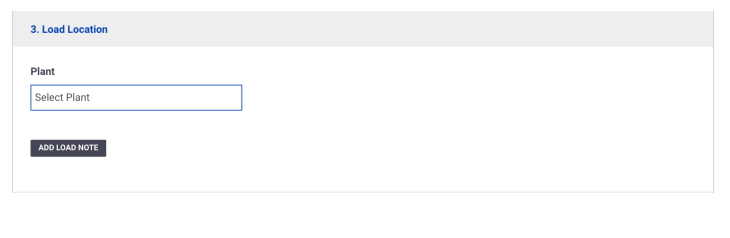
A plant is required for the load location of production job types. To select a Plant, click on ‘Select Plant’ in the Plant field and choose the appropriate plant. Contractors linked to one or more producers will see the name of the producer before the plant name. Note: Load Locations are required for any job being scheduled.
Deliver Location
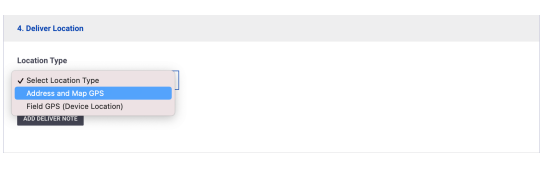
When selecting the deliver location, most users will choose ‘Address and Map GPS’. If scheduling from a deliver location in the field, select ‘Field GPS’ and click the ‘Use My Location’ button.
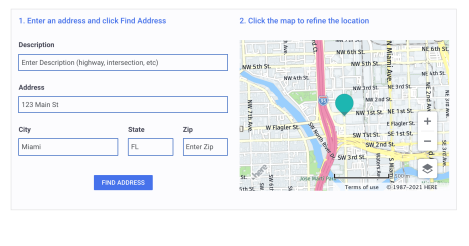
For ‘Address and Map GPS’, enter at least two address fields and click ‘Show Map’ to search for the location. Once the map appears, zoom in or out and drag the map image to find the precise deliver location. Click on the map to set the location icon to the exact deliver location.
Target
In the Target panel, managers can set the target tons and target hours for the shift. The system will automatically calculate the estimated ‘Tons Per Hour’ based on the submitted targets.

Settings
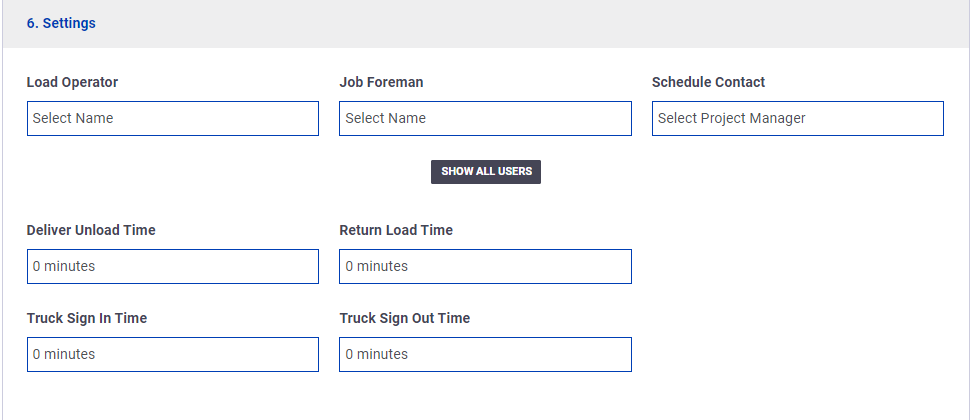
In the Settings panel, managers can assign a Plant Operator and Job Foreman, which will display their names and contact on the job summary. The Schedule Contact name and phone will be included on the Schedule PDF. Click Show All Users to expand the user lists to include more user roles.
To save the schedule job, click ‘Save Job’ at the bottom of the page.


